The Ultimate Guide to Creating Your Brand Messaging
Last week I talked about what brand messaging is and why you need to care about it for your creative business, real estate business, product-based business, etc. Every business and entrepreneur needs to have a Brand Messaging Guide to guide them through writing any copy for their business.
Brand Messaging Guides help you when you’re stuck staring at your screen or your phone when it comes time to create content for your business. Whether it’s a blog post, email, social media caption, or page on your website, your Brand Messaging Guide helps prevent a blinking cursor and poorly written, off-brand copy.
Having inconsistent messaging can cost your business money.
Yep. I said it.
Having consistent brand messaging that’s recognizable and memorable can help you make more money.
In this blog post, you’re going to learn the 8 steps to creating your Brand Messaging.
Step 1: Determine your why.
The first step is a big one. And if you can’t tell me why you do whatever it is you do, then you need to stop and nail that down first.
Running a business or brand with no purpose isn’t going to serve anyone well – including you.
So get to the heart of why you do what you do.
Why does your business exist? Why are you a real estate agent? Why do you own a wedding photography business? Why are you a hair and makeup artist? Why do you own a home decor and gift shop?
Maybe your “why”, if you’re a real estate agent, is that you want to help first time home buyers feel comfortable buying a home by guiding them through the entire process.
Maybe you’re a wedding photographer and your “why” is that you want to help capture one of the most important days in someone’s life so they can show their kids and their grandkids how a legacy started.
Or maybe you own a home decor and gift shop and your “why” is that you want to provide people with beautiful, sustainable, unique, and affordable decor options for their home.
You don’t have to get super deep with this… no need to soul-search (unless you want to)… but you do need to have a firm grasp one why you do what you do.
This will become your mission statement.
Step 2: Define your values.
After you have your “why” figured out, you need to define your brand values. These are 3-6 words that help guide your brand. These values help your ideal client figure out if you’re the right person they’re looking to hire or buy from.
You’ve got to be able to stand behind your values.
These values are going to play a huge part in your brand messaging because they’re going to help guide your communication. Before you write any blog post, social media caption, or email, you’re going to run it through your “Brand Value Filter”… you’re going to make sure whatever it is you’re saying lines up with your values.
Here’s a suggestion on how to do this:
-
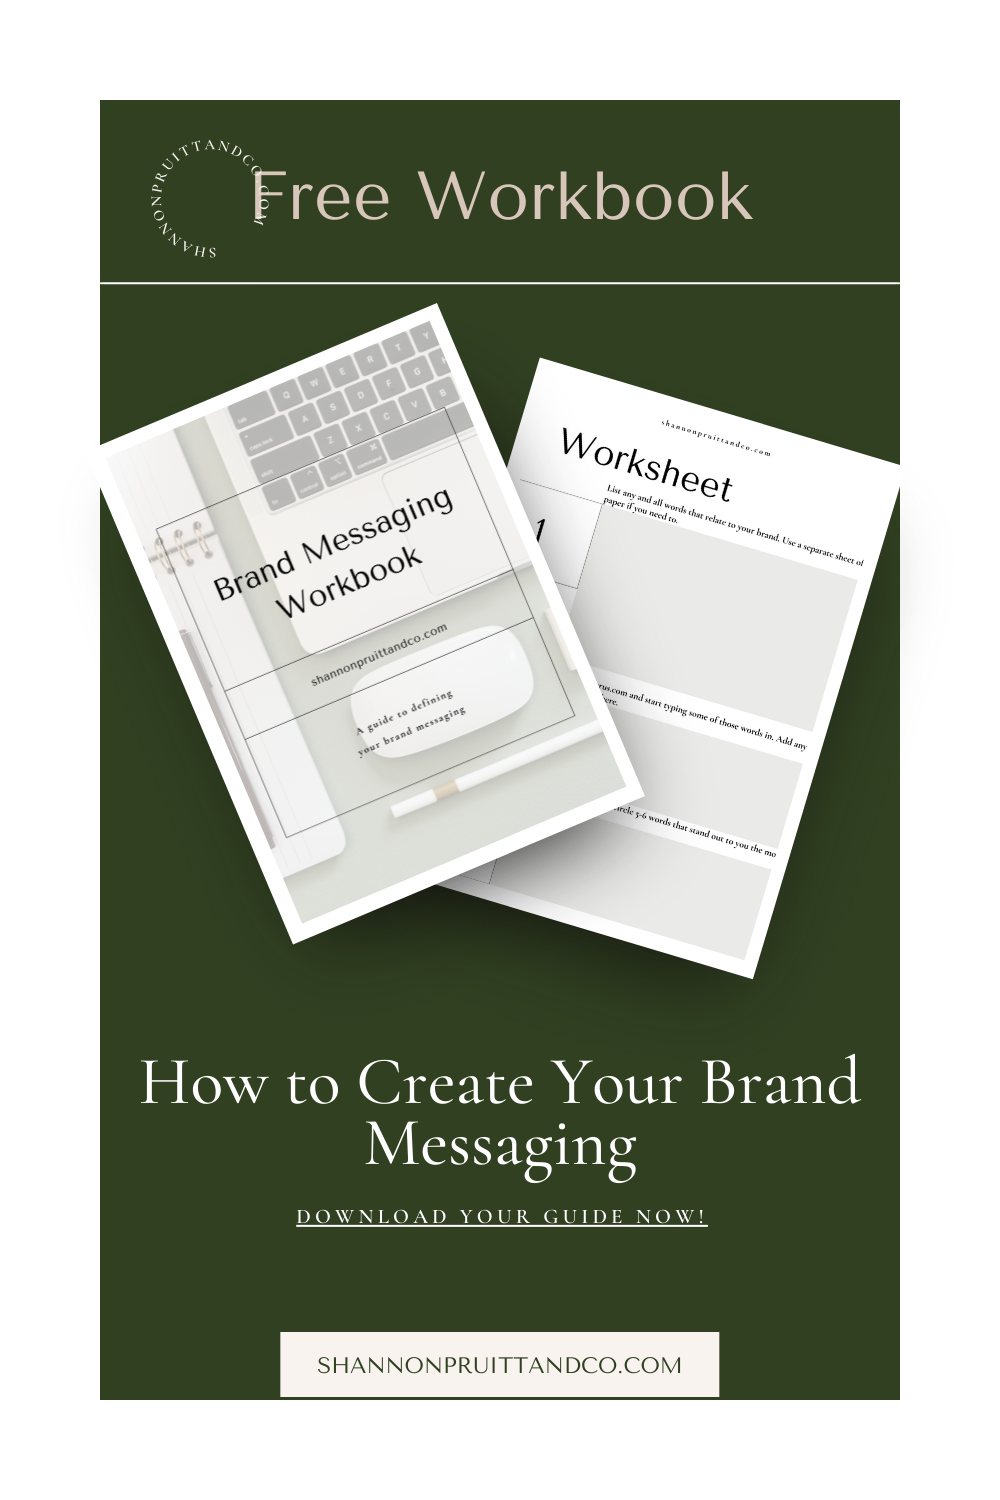
Start typing or writing out any and all words that relate to your brand. Add words and values that matter to you personally. Write down everything you can think of.
-
Then grab a thesaurus, and start typing some of those words in… add any similar words, interesting words, or words that stick with you to your list.
-
Now that you have a magically massive list, circle 5-6 words that stand out to you the most. If a couple of words are similar, circle the one you like the most.
-
Once you have 5-6 chosen, take a look at them, and honestly ask yourself the following questions about each value… You must be able to answer “YES” to each of those questions in order for you to keep each of those values. If you answer “NO” to one of the questions, remove that value off your list, and either choose another one or keep your number of values a little lower.:
-
Can your brand or business live by this value?
-
Will your ideal client and audience care about this value? Will it make them want to do business with you?
-
Do you feel strongly about this value? Does it mean something to you personally?
-
-
Once you’ve narrowed your values down (I recommend 3-6 values), write them down on a separate piece of paper, and then write out WHY each of those are important to you.
Don’t throw your big list away, though! You can use these later in your copy.
Step 3: Narrow down your niche.
This may not be the first time you’ve heard this, but niching down will do WONDERS for your business and bottom line.
Being a real estate agent for everyone, or a hair and makeup artist for everyone, or a photographer for everyone is going to make it harder for you to sell. You can’t be [what you do] for everyone.
When you specify a niche – who you work for and who you don’t work for – you’re going to be able to dominate your industry a little more. When people need something specific in your industry, if you fit the bill, you’ll come to the top of mind. You want to be the go-to person in your industry, for your niche.
Honestly, the more specific you are with your niche, the more your business will likely grow.
For example, I am a Copywriter, Content Writer, and Social Media Strategist for creative businesses, real estate agents (and brokerages), and other purpose-driven brands. I do not write copy or content for financial institutions. I write for people and things I not only enjoy but for topics that I have some knowledge about.
For example:
“I’m a wedding and lifestyle photographer” instead of “I’m a photographer.”
Or
“I’m a real estate agent who specializes with first-time home buyers.”
Or
“I’m a hair and makeup artist for busy moms.”
Being specific about who you don’t work for, or what you don’t do, is also super helpful. For example, I do not do any ghostwriting.
So go ahead, get specific with your niche.
Step 4: Determine your ideal dream client.
You’ve heard me talk about how important it is to have your ideal client defined. When you identify who it is you serve, so many other aspects of your business and brand will fall into place.
When I help my clients figure out who their ideal client is, I get super specific with them. It’s not just busy moms, and it’s not just first-time home buyers. Maybe it’s busy moms who also work from home. Or maybe it’s first-time homebuyers who are looking for a single-family home. Maybe it’s busy moms with a bigger budget, and maybe it’s engaged couples who want an intimate wedding.
Be sure to check out this post on how to identify your ideal client.
Step 5: Identify your ideal client’s pain points.
Now you need to figure out your ideal client’s biggest pain points. What is the problem that they have that you’re going to be able to solve? More than likely, there is going to be more than one problem (which is totally fine!), but I want you to figure out the main problem, the biggest one.
Whatever the problem is, be specific about it. The more you can learn about their problem, the better. I recommend doing some market research to find out more about this problem.
Go to Answer the Public, type in the problem, and see what people are searching for. This will give you more insight into the problem you’re trying to solve. (It also gives you some content ideas for later, wink wink).
Go beyond surface-level for their problem. Don’t just focus on a lack of time, a lack of money, or a lack of energy. Focus on how the problem makes your client feel. People are going to purchase because of emotional connections… for words and copy that are going to make them feel seen and known.
Step 6: Connect their problem with your secret sauce.
Now that you know your ideal client’s problem (the big one), you’re going to be able to make a connection to how you help him/her solve the problem. And you’re going to do that by sharing your secret sauce, the thing that makes you different from everyone else. This is the HOW of your offer. This is what a lot of marketers call your unique selling (or value) proposition.
So… What’s the magic that you bring? What makes you different from alllll the other businesses out there who do what you do? Why should your ideal client choose you?
Here’s the formula I use for my clients:
I help [who you help] [what you do] by [how you do it] so that [why your ideal client needs this].
For example:
I help first-time homebuyers purchase their new home by guiding them through the whole process and educating them so that they feel completely at ease.
OR
I photograph engaged couples by candidly capturing meaningful moments so that they can feel comfortable in front of the camera on their wedding day, while preserving memories that last.
OR
I help busy, working moms with their hair and makeup by giving easy-to-follow tutorials and offering services so that they feel beautiful inside and out.
You can write several of these and choose the best one. Then you can even shorten it from there to make it more concise. Pro Tip: Use this statement as part of your Instagram bio!
Step 7: Write your brand story.
HubSpot defines a brand story as “A brand story recounts the series of events that sparked your company’s inception and expresses how that narrative still drives your mission today. Just like your favorite books and movies’ characters, if you can craft a compelling brand story, your audience will remember who you are, develop empathy for you, and, ultimately, care about you” (Source).
You can use the art of storytelling to connect your brand message and brand story. Give people a reason to resonate with you… what’s the story of how you got started? Write it as a story, and don’t forget the conflict (every story has conflict, and it’s ok that yours does, too). Give your audience something to relate to.
Write out your story.
Step 8: Create your brand voice and personality.
Now think of the personality you want your brand to have. Lively? Serious? Playful? Conversational? Assertive? Sassy? What personality traits does your brand not have?
For example, maybe your brand is “Conversational but not unprofessional” and “Sassy but not harsh”.
What words and phrases does your brand use? What words and phrases does your brand NOT use?
Now what I recommend doing is creating a Copy Bank or a Glossary of words and phrases you want to incorporate in your brand. Be sure to include words and phrases you don’t want your brand to ever use.
Once you have all of this information, compile it all into a document, and BOOM – you’ve got a Brand Messaging Style Guide!
There you have it. 8 Steps to creating your Brand Messaging Style Guide.

